How To Set Up Your Omnidesk Pro
Congratulations on your new Omnidesk Pro, we can’t wait to help you get started on transforming your space into a more active, ergonomic and organised one. Here’s a quick guide to get you started!
Now that you have your brand new height-adjustable desk assembled, it's time to set it up and start enjoying all the amazing features it has to offer. Here's a step-by-step guide on how to set up your Omnidesk Pro.
Desk Function:
The first thing you need to do is get familiar with the basic functions of your Omnidesk and we’re here to help!
• Using the up and down buttons, you can easily adjust the height of your desk to your preferred level. Simply press and hold the arrow button, and watch your desk move at a stable 43mm/s!
• Additionally, you can also save your preferred heights for easy access by pressing the Omnidesk Icon button followed by a number to register the height to a save slot. Press the same number and your desk will return to the saved height.

Tidy everything up:
Once the cables are placed, you can use cable binds, clips, and cable wraps to organise and bundle cables neatly. Cable wraps can also protect your cables from damage and fraying.
And there you have it! A concise guide to cable management. If you want more information, make sure to check out our blog on how to cable manage like a pro!
Setting up your monitor arm:
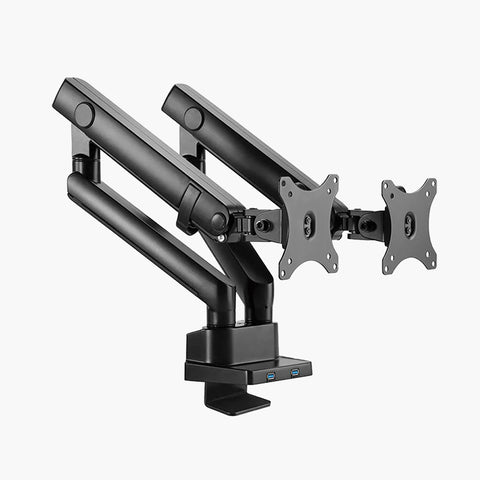
If you purchased a monitor arm along with your Omnidesk Pro, it's time to set it up. After all, there’s no reason to leave your monitors at the wrong height and risk neck and eye strain!
You have the option to clamp the monitor arm to the grommet hole, or the edge of your desk. If your desk is flush with the wall, it's best to clamp it to the grommet hole to allow the arms maximum range of movement!
However, if you’re routing many thicker cables through the grommet and you want to be able to place the grommet hole cover comfortably over the hole, it's best to clamp it to the edge of the desk for maximum cable management space.
If you're using the Ergo Curve table top and find that mounting the monitor arm to the grommet hole brings your monitor too close for comfort, you can also consider clamping it to the table edge.
Don't forget to route your monitor’s cables through the monitor arm for a clean and tidy workspace!
Accessorising your desk:
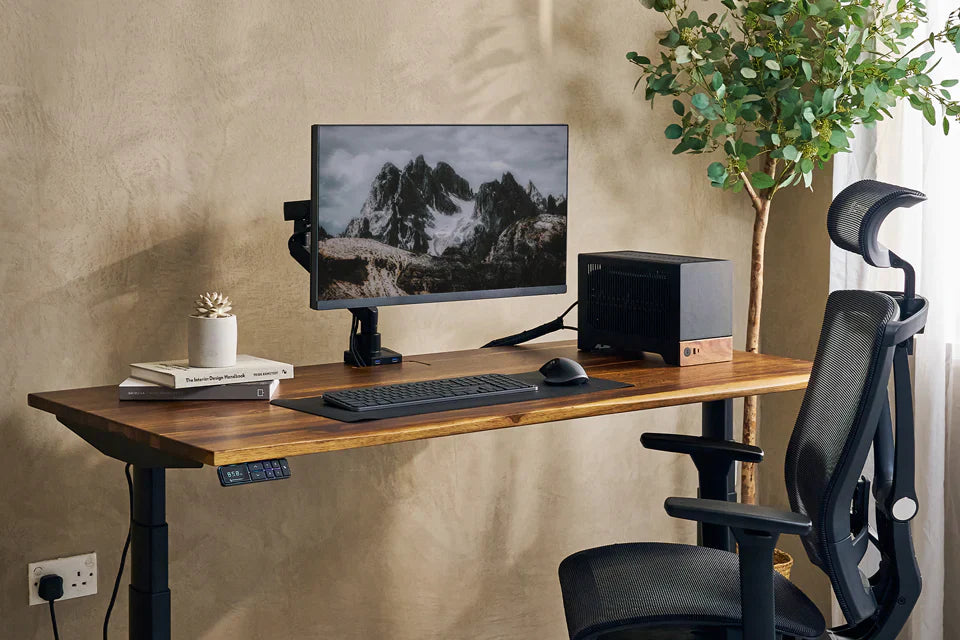
Your Omnidesk Pro is a blank canvas, waiting for you to make it your own. Consider accessorising it with items like a cup holder, headphone hook, or a desk mat. Of course, adding accessories like your favourite trinkets and figurines go a long way in making your Omnidesk truly yours.
For a super seamless looking workspace, pick a theme and stick to it! Whether it’s something whimsical like pink and white, or something minimalist like black monochrome, colour coordinating your set up goes a long way to helping it look picture perfect.
Enjoy your new desk:
Finally, take a moment to sit back and enjoy your brand new Omnidesk. Setting up your desk might be a little bit time consuming, but nothing beats the productivity you get at a workspace you enjoy using!
Now that you’re armed with this guide, go forth and enjoy your new Omnidesk Pro, and make sure to stay tuned to our blog for more tips and tricks.


